What is Floor Molding?
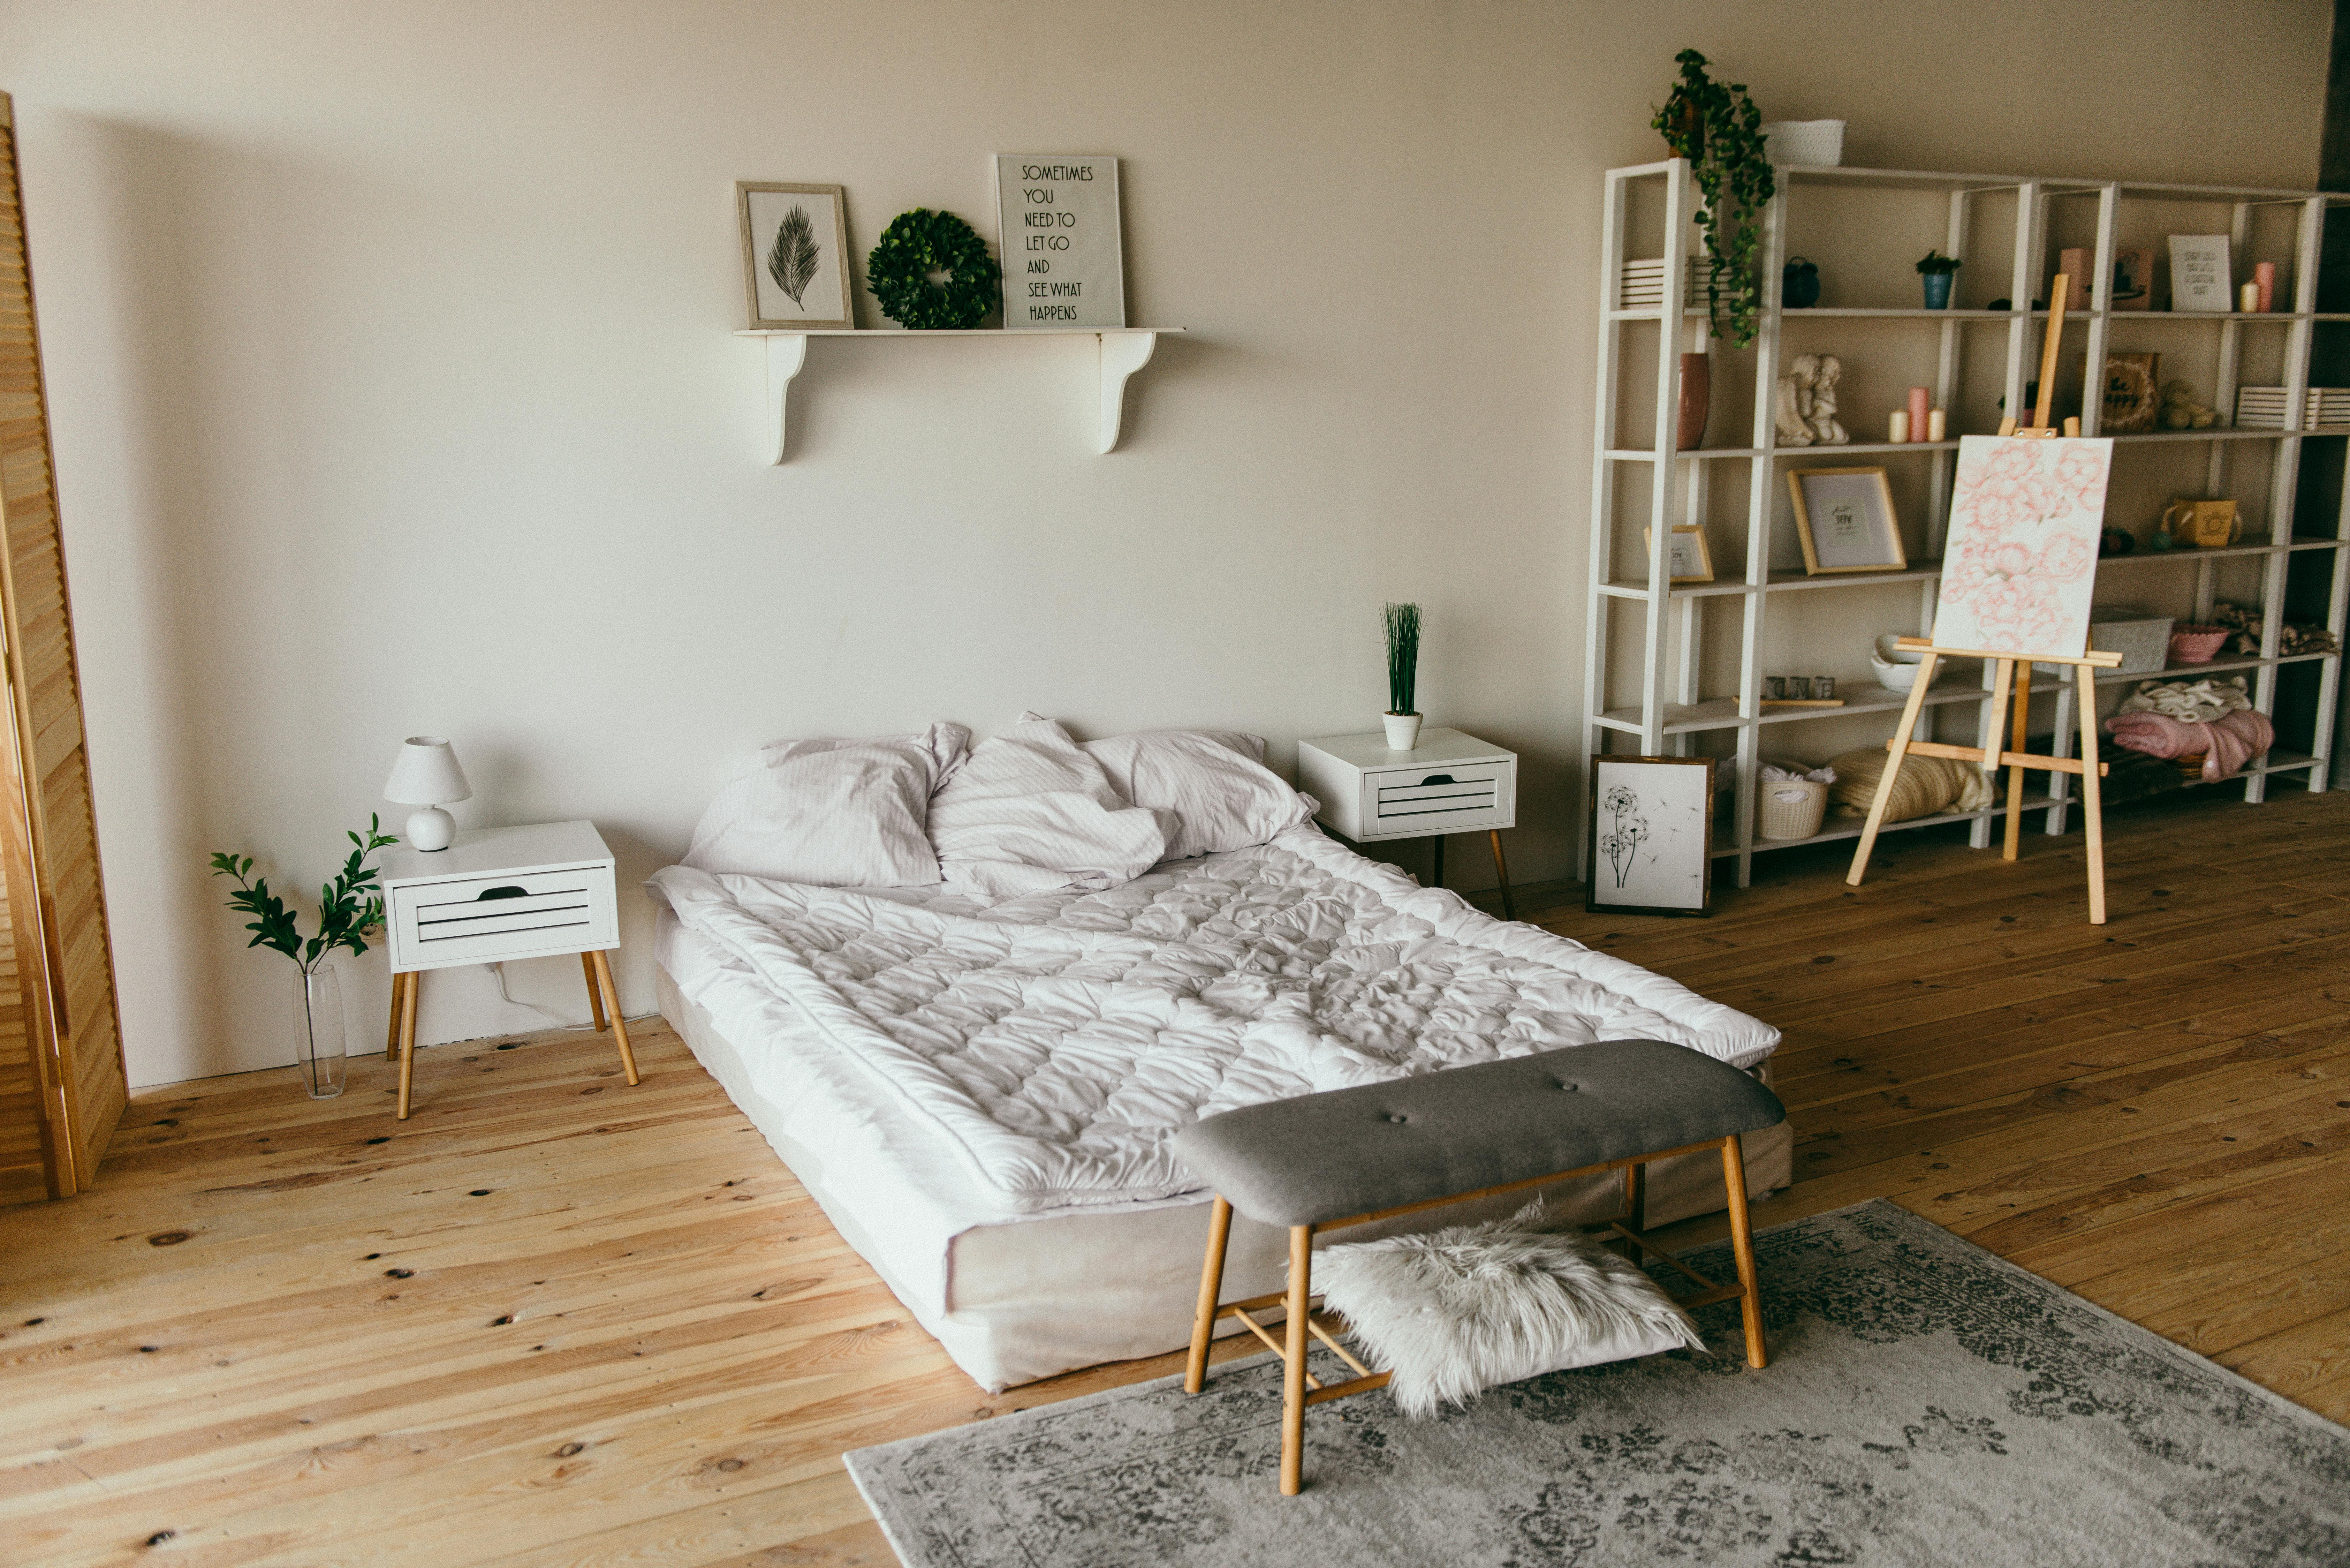
Floor moldings (also called trim or baseboard) are the strips of wood or material that go along the bottom of your walls where they meet the floor. They help cover up gaps and make everything look neat. You can also find them around window trim or doorways.
Some moldings are painted, while others are stained to match hardwood floors or tile. They are attached to the wall with nails, glue, or both.
Tools You’ll Need (Helpful Tools List)
Before you begin, gather these basic tools:
- Sharp utility knife
- Putty knife or metal putty knife
- Trim puller or pry bar tool
- Painters tool (a great in1 painters tool is handy)
- Oscillating tool (osc tool) or multi tool for tight areas
- Pair of pliers (such as needle-nose pliers, side-cutter pliers, or vise grips)
- Claw hammer
- Wood putty
- Touch-up paint or wall paint
- A piece of wood to protect the wall
These correct tools help avoid drywall damage, trim splinters, or broken molding. If you’re removing floor trim carpentry baseboard in tight trim spots or corners, you’ll need a flexible steel putty knife or broad knife to get into coped corner or mitered corners.
Step-by-Step Instructions
1. Score the Top Edge of the Trim
Use your sharp utility knife to cut the line where the molding meets the wall. This breaks the paint seal and keeps the drywall paper from peeling off. Make sure to apply gentle, even pressure.
🛠️ Tip: Pay attention to corners—they often have more layers of paint or old caulking.
2. Loosen the Trim with a Putty Knife
Slip your metal putty knife or wide putty knife behind the molding. Wiggle it gently to loosen it from the wall. Slide it along the edge, working a few inches at a time.
For extra tough spots, use a larger tool like a trim puller or multi tool to help.
3. Use a Trim Puller or Pry Bar Tool
Once the molding is loose, use your pry bar tool or trim puller to gently pull the molding away from the wall. Always place a piece of wood between the wall and the tool to prevent drywall damage.
Avoid yanking too hard to prevent trim splinters or breakage—especially if you’re planning to reuse the molding in future projects.
4. Remove Nails from the Wall or Molding
Now, it’s time to deal with those nails. You may find 5–10 nails per board, sometimes more. If the nails stay in the wall, pull them out using a pair of pliers, needle-nose pliers, or cutter pliers.
If the nails are stuck in the molding, use side-cutter pliers or vise grips to pull them through the back to avoid damaging the front. This prevents pull-through nails and preserves the molding’s look.
Some pros use a finish nail gun, which shoots finish nails into the nail per stud areas. You may feel some nail resistance, especially with upper nails or nail stubs.
5. Patch Up Nail Holes and Wall Damage
If there’s a nail hole or a small dent in the wall, patch it with wood putty or spackle. Let it dry, then sand it lightly. Use touch-up paint or wall paint to make it look new again.
If you notice any black spots or musty smells behind the trim, you may have mold. Be sure to check out this guide on mold removal in Orange County to learn more about how to stay safe during repairs.

Extra Tips for Different Materials
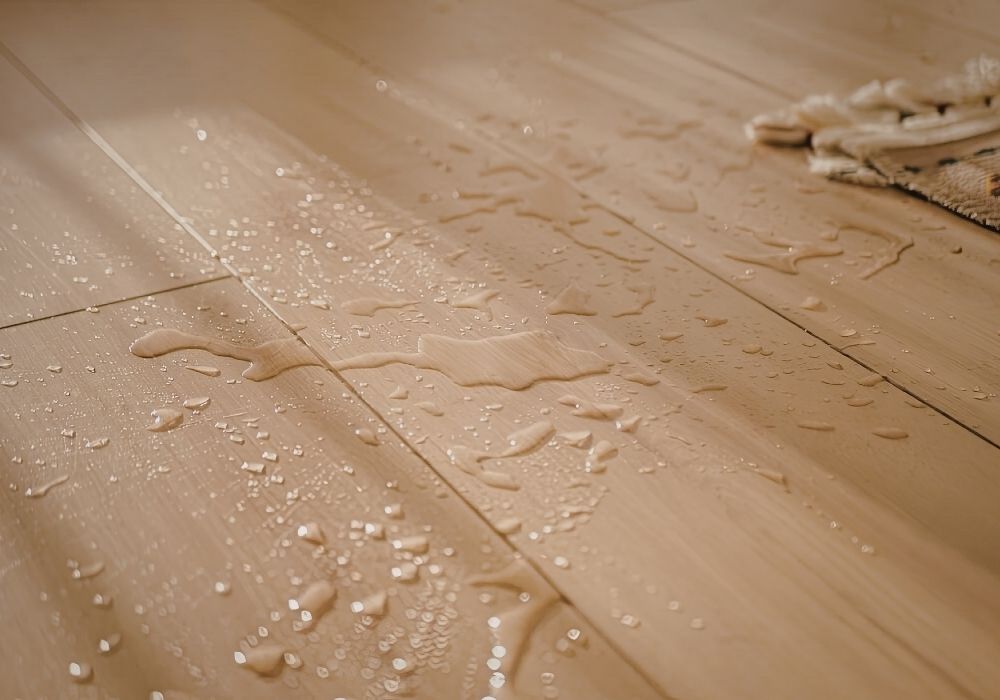
If You Have Hardwood Floors
Removing molding from hardwood floors or during hardwood floor installation needs extra care to avoid scratching the boards. Use a soft piece of wood under your tools and avoid metal tools touching the hardwood floor boards directly.
For Prefinished Hardwood Floor
Protect the edges from sharp edges or tools. A cheap blade might nick the finish. Use tapered edge tools and go slow.
For Painted Trim
If your trim is paint grade, use a coat of paint afterward to make it look clean. Paint can also hide minor damage or chips.
Mistakes to Avoid
- Don’t rush—damage bonuses aren’t worth it!
- Avoid using the wrong tool like a claw hammer to yank trim with a single whack with hammer.
- Never skip scoring the paint—it leads to lots of damage to drywall paper.
- Don’t ignore mold behind the trim. It can cause serious health problems. Visit our mold removal page for expert help in Orange County.
Where to Ask for Help?
If you’re stuck, places like Stack Exchange or your local online community or community for developers can offer great advice for DIY home projects. You can ask about tool brands, oscillating blade shapes, and more.

FAQs
1. What is the easiest way to remove floor molding?
Use a trim puller and utility knife to loosen the molding gently. Score the top edge and use a putty knife to help pry it off without damage.
2. Can I reuse the molding after removing it?
Yes! If you remove it carefully without bending or splitting, it’s great for future projects. Be gentle with pull-through nails and avoid chipping.
3. How do I protect my wall when pulling trim?
Place a piece of wood behind your pry bar tool to prevent drywall damage. Always go slow and even to avoid lots of damage.
4. Do I need special tools to remove molding?
Not really. You can use basic tools like a putty knife, utility knife, and a pair of pliers. For best results, try a trim puller or osc tool.
5. What if I find mold behind the trim?
That’s serious. It’s best to contact a professional. Learn more at our mold removal Orange County page.
With the right steps and the correct tools, anyone can learn how to remove floor molding safely and easily. Whether it’s for a big renovation project or just refreshing a room, this skill will help you on many future projects. Happy building!