Tips on Using a Dehumidifier Post-Leak for Best Results
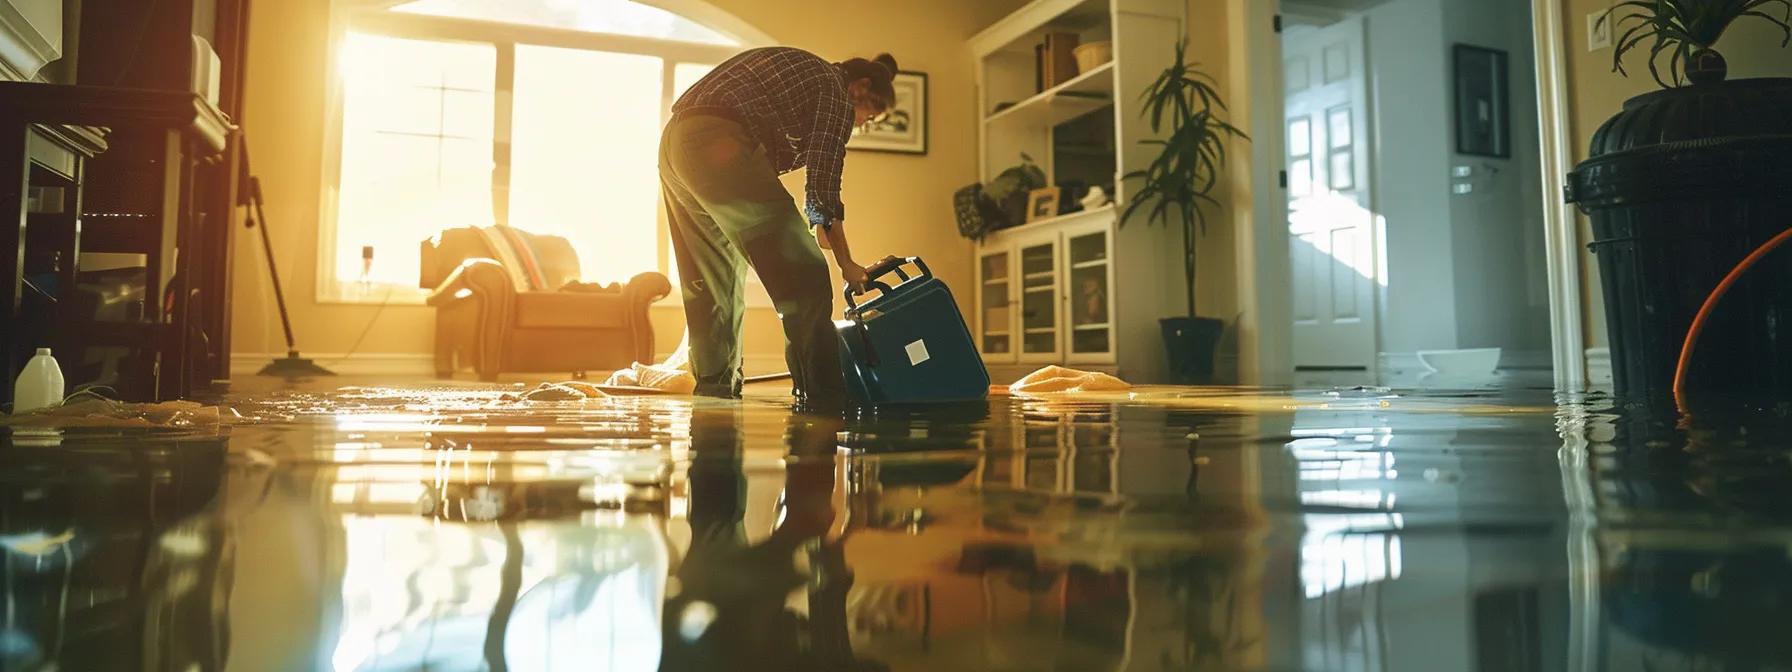
Water damage following a leak can cause significant structural and health issues if not addressed quickly and efficiently. Homeowners face risks like mold growth, compromised air quality, and even structural deterioration. Using a dehumidifier correctly is crucial to restoring your space and ensuring long-term protection. This comprehensive guide explains the critical steps—from initial safety measures to long-term moisture control—that allow you to maximize the effectiveness of a dehumidifier after water intrusion. The article details each phase of the process while integrating important considerations such as proper electrical safety when addressing wet areas and the correct operational settings of your device. In addition, scientific studies have shown that timely intervention with dehumidification significantly cuts down on mold formation rates and structural damage by reducing ambient humidity levels. With a focus on best practices and practical tips, the following sections guide you through every stage necessary for a safe and efficient drying process.
Transitioning now to initial safety priorities, the article begins by addressing essential steps that must be taken immediately after a leak is detected.
Prioritizing Safety and Initial Steps for Drying After a Water Leak
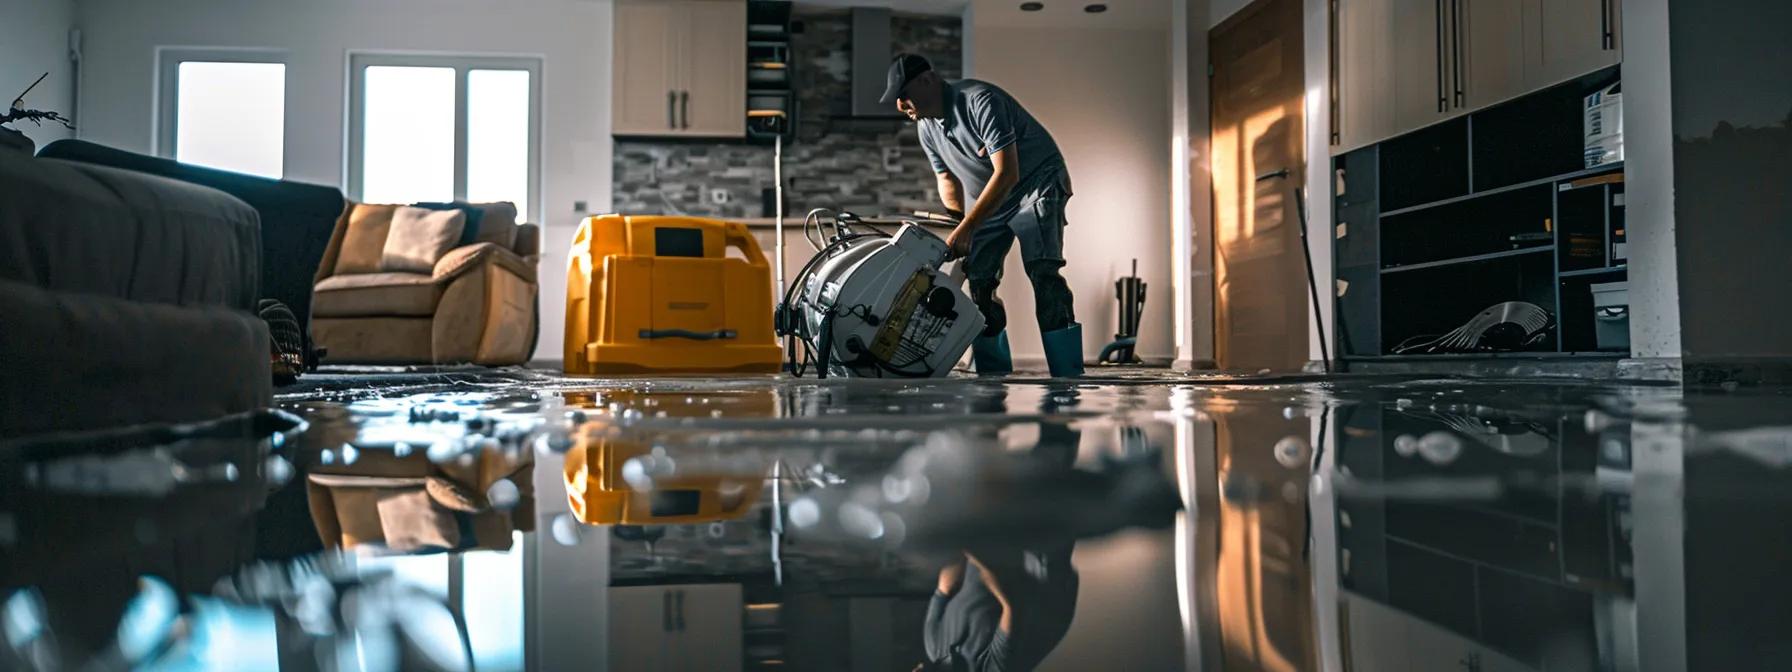
When water infiltrates a building, the logical first step is to prioritize safety and halt further damage. The initial measures focus on protecting both the occupants and the property by addressing potential electrical hazards and rapidly eliminating hazardous wet conditions.
Ensure Electrical Safety Before Addressing Wet Areas
The first step is to ensure electrical safety. Before touching any wet surfaces, it’s imperative to disconnect electrical power to affected areas to prevent shock hazards or electrical fires. Water conducts electricity, so exposed wires or damp environments can create dangerous situations. It is recommended to call a professional electrician if there is any doubt about safely shutting off power.
Identify and Stop the Source of the Water Leak
Immediately identify where the water is coming from. This might involve inspecting roof leaks, plumbing failures, or faulty appliances. Stopping the flow at its source is crucial so that additional water does not worsen the damage. Once you locate the leak, turn off the corresponding water supply if necessary, and if the leak is external, ensure that storm drainage or gutters are clear and functioning.
Remove Standing Water Promptly
After securing the area, remove any observable standing water. Utilize pumps, mops, or wet/dry vacuums to clear pools of water that accumulate on floors. This step is essential not only to prevent further saturation of building materials but also to decrease the time it takes for the dehumidifier to work effectively later on. Quick removal significantly reduces the risk of mold and bacteria growth.
Assess the Scope of Water Intrusion and Affected Materials
Carry out a thorough assessment of how far the water has spread. Look at walls, floors, and insulation to determine the extent of the damage. Some materials might be saturated beyond salvage and will need to be removed to prevent continuous moisture retention. Understanding which areas have been affected enables you to plan drying strategies and avoid unexpected mold issues.
Ventilate the Area Safely to Begin Air Circulation
Finally, before the dehumidifier is activated, ventilate the area. Open windows and doors slightly to allow fresh air to circulate and help lower the humidity content initially. However, care must be taken in inclement weather or in environments with high external humidity. A well-ventilated space supports even drying and prevents the development of stagnant air, which is a breeding ground for mold spores.
Key Takeaways: – Electrical safety is the foremost priority; disconnect power to prevent hazards. – Identify and cease the leak source to stop further water damage. – Prompt removal of standing water minimizes saturation and mold risk. – Assess the extent of water intrusion to plan the drying process. – Safe ventilation aids in initial moisture reduction.
Preparing the Space and Your Dehumidifier for Efficient Moisture Removal
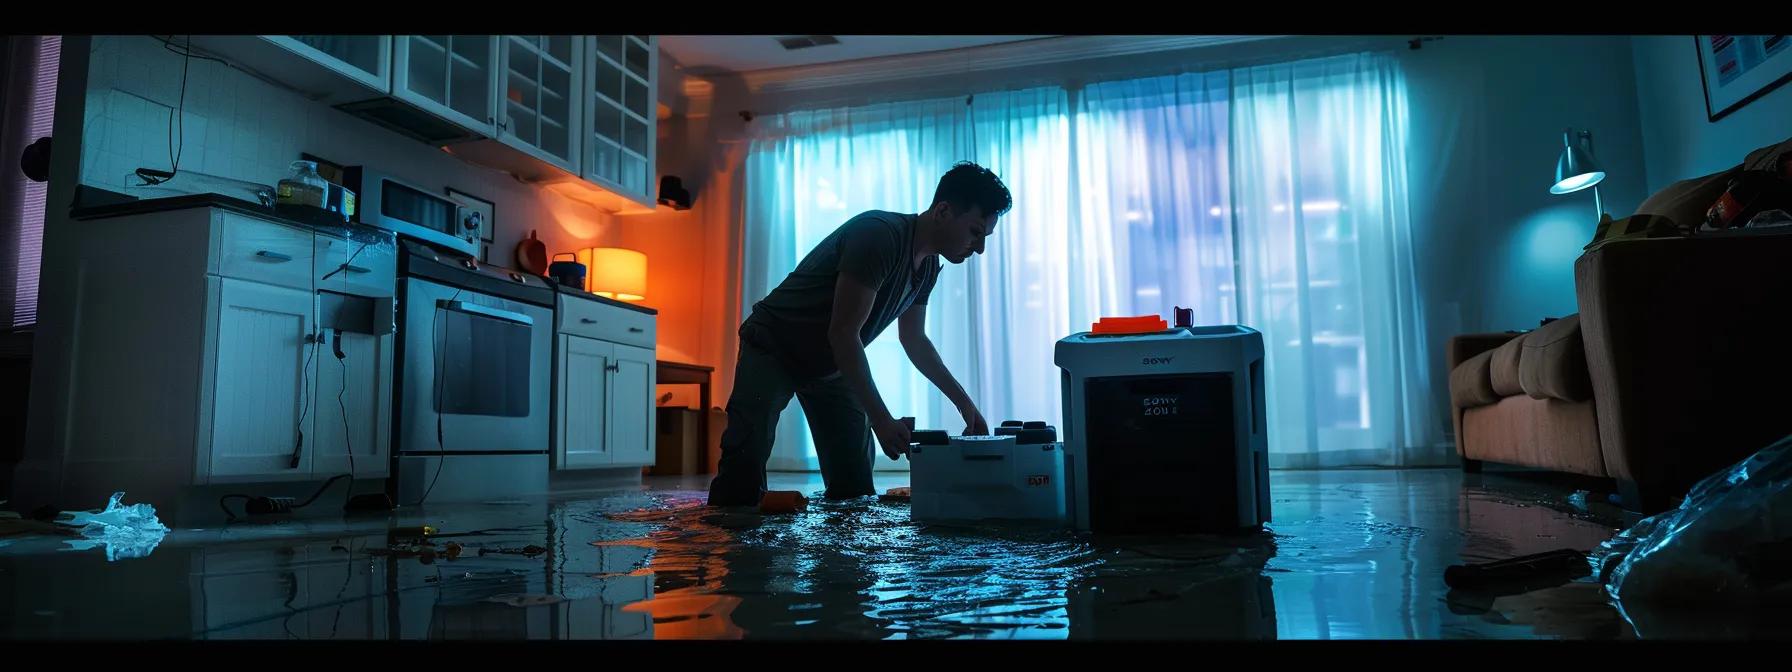
Once safety is confirmed and initial water removal is complete, preparing the space and the equipment becomes the next critical phase. This involves how you set up the affected room and ready your dehumidifier for continuous operation, ensuring that every step maximizes efficiency and reduces moisture swiftly.
Clear and Prepare the Affected Room for Dehumidification
Start by removing all flood-damaged items and furniture from the affected area. Personal belongings, electronics, or delicate items should be relocated to a dry zone. Clear the floor to allow air to circulate freely. Removing any items that could block the airflow ensures that the dehumidifier can operate at maximum efficiency. Additionally, floor coverings and damaged baseboards may need to be stripped to access the underlying structure for further drying.
Choose the Correct Size and Type of Dehumidifier
Not every dehumidifier is suitable for every situation. It is vital to select one that is capable of handling the volume of water damage. Units are typically rated by the amount of moisture they can remove per day. For residential drying, choosing one with an appropriate capacity based on the room size and moisture level will lead to better performance. In high-damage scenarios, a commercial-grade dehumidifier might be necessary.
Inspect and Clean Your Dehumidifier Before Operation
Before you begin, inspect the dehumidifier for any dust, debris, or residues that might have accumulated during storage. Clean any filters and the water collection tank to prevent contaminants from circulating. Not only does this prolong the lifespan of the unit, but it also ensures that every drop of moisture is captured efficiently. A well-maintained dehumidifier works faster and more reliably.
Understand Your Dehumidifier’s Drainage Options
Many dehumidifiers offer multiple drainage options. Some come with a built-in reservoir that must be manually emptied, while others have continuous drainage connections allowing water to flow directly into a floor drain. Understanding which method fits your setup best can save time and frequently reduce the need for manual intervention. Make sure that any hoses are securely connected and that their paths do not obstruct normal operation.
Position the Dehumidifier for Maximum Airflow
The location of your dehumidifier within the room is crucial. Place it in an area that has unobstructed air circulation and open pathways. Ideally, the device should be central to the affected zone and away from walls that might block intake or output vents. This strategic placement ensures that the device can pull as much moist air as possible for continuous treatment.
Key Takeaways: – Clear and declutter the area to maximize airflow. – Choose a dehumidifier that matches the moisture removal needs of the room. – Clean and inspect the device before operation for optimal performance. – Understand and set up the best drainage system for continuous operation. – Position the dehumidifier centrally to ensure even moisture removal.
Strategic Dehumidifier Operation for Effective Post-Leak Drying
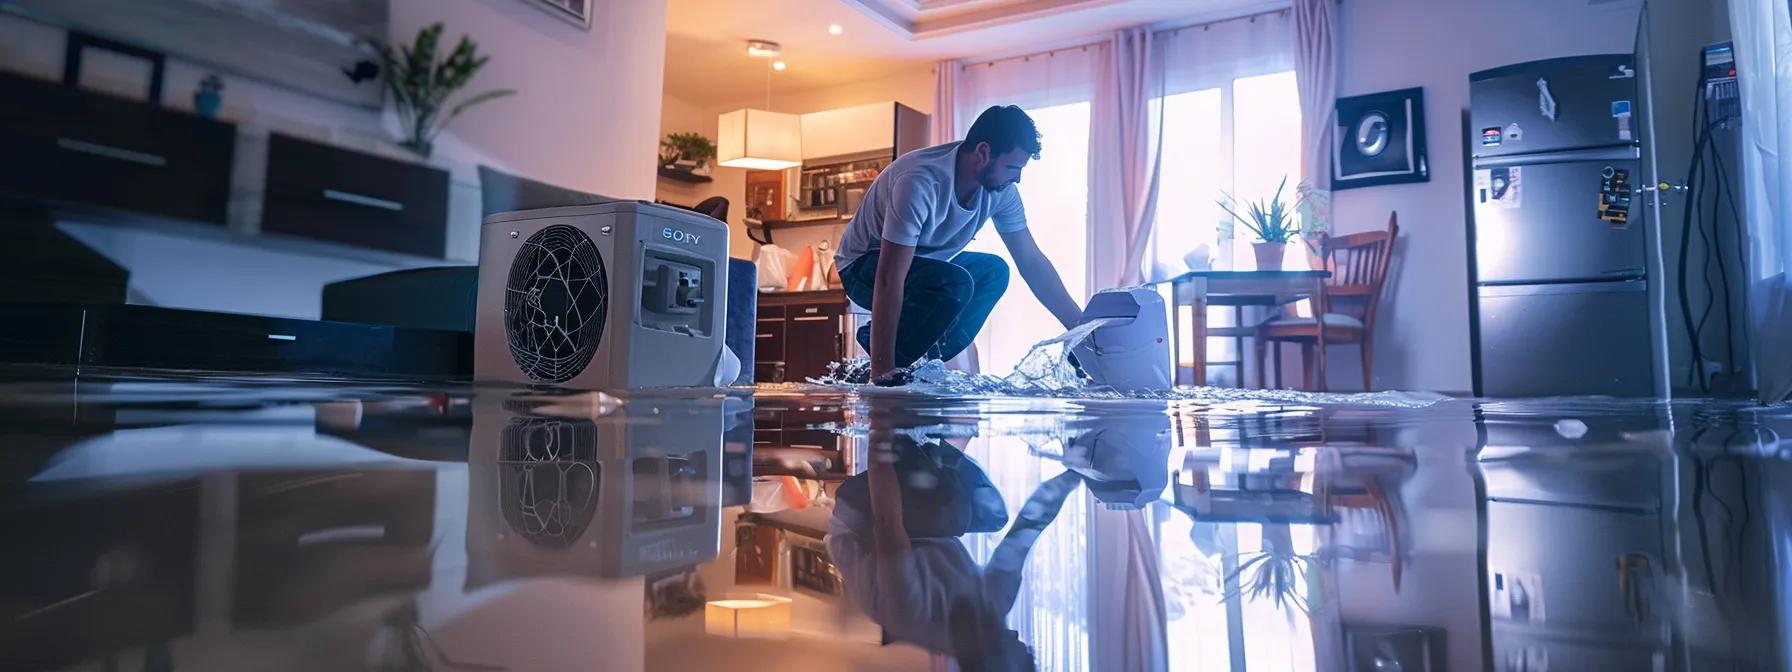
After preparing both the space and the equipment, the next phase involves the strategic operation of the dehumidifier. The way the device is placed and used significantly impacts how quickly and thoroughly the affected areas dry out. Correct positioning, setting the optimal humidity level, and maintaining continuous operation lead to successful moisture control.
Optimal Dehumidifier Placement in a Water-Damaged Room
The effectiveness of drying rests on where the dehumidifier is situated. Placing the machine close to the most saturated areas ensures that it captures the maximum amount of moisture-laden air. This might mean positioning it near a wet wall, floor, or even directly underneath a ceiling that has absorbed water. Avoid cramped spaces—open areas facilitate better air circulation that feeds the dehumidifier for faster drying.
Setting the Ideal Humidity Level on Your Dehumidifier
Once positioned, set the ideal humidity level. For most residential drying scenarios, aiming for around 40-50% relative humidity accelerates the drying process while preventing rapid temperature drops that could lead to condensation. Modern dehumidifiers come with precise digital controls that allow you to monitor and adjust settings based on real-time conditions. This helps in maintaining a balance between drying speed and energy efficiency.
Running the Dehumidifier Continuously for Best Results
For a thorough drying process, the dehumidifier should run continuously until the affected area reaches the desired dryness. Short cycles can prolong drying and leave pockets of moisture untouched. Certain models have a continuous drainage option, allowing them to operate non-stop without the need for manually emptying the collection tank. Ensure that the unit’s auto-restart feature is activated so that even after power interruptions, the dehumidifier resumes its function seamlessly.
Sealing the Room to Improve Dehumidifier Performance
To further enhance drying efficiency, seal the room to prevent external humid air from entering. Use plastic sheeting or temporary barriers around the doorways and windows. By isolating the space, you create a controlled environment where the dehumidifier can work more effectively. This isolation also reduces energy consumption since the machine is not battling outside humidity levels.
Using Fans to Aid Air Circulation and Speed Up Drying
Even with a dehumidifier in place, additional air circulation can be beneficial. Position fans strategically to circulate air throughout the room. This not only helps in dispersing moisture evenly but also prevents stagnant pockets where mold might form. Combining fans with a continuously running unit can cut down drying time by up to 30%, as evidenced in several restoration case studies.
Key Takeaways: – Place the dehumidifier near the wettest areas for maximum efficiency. – Set the device to maintain a comfortable 40-50% relative humidity level. – Operating continuously is key to comprehensive moisture removal. – Sealing the room enhances the dehumidifier’s performance by isolating the environment. – Additional fans help circulate air, reducing drying time further.
Advanced Moisture Removal Techniques to Support Dehumidifier Efforts
While a dehumidifier is fundamental to drying a water-damaged space, advanced techniques can accelerate and supplement the process. Employing specialized equipment and methods ensures that even hidden pockets of moisture are addressed. These strategies are particularly useful in severe cases where water has penetrated deeper into walls, under flooring, or into insulation.
Employing Air Movers for Targeted Drying After Water Leak Incidents
Air movers—also known as high-velocity fans—can be deployed to target hard-to-reach areas. These devices force airflow over surfaces where moisture may have accumulated, such as beneath carpets or behind heavy furniture. By dramatically increasing the circulation rate, air movers help hasten the evaporation process. Professional restoration teams often use this method in conjunction with dehumidifiers to ensure that moisture is extracted from every nook and cranny.
Strategic Use of Heaters to Accelerate Evaporation
Heaters can be used to raise the ambient temperature, encouraging moisture to evaporate more quickly. In combination with a dehumidifier, heaters help reduce the relative humidity faster. It is important, however, to monitor temperature closely to avoid overheating and causing secondary damage. Studies have noted that a controlled increase of 3-5°C in room temperature can boost evaporation rates by 25%. Such adjustments must be made gradually and with close supervision.
Benefits of Opening Windows in Specific Drying Phases
While sealing the room is ideal during intensive dehumidification, there are phases in the drying process where opening windows can be beneficial. When external conditions are less humid, allowing a gentle exchange of air can remove residual moisture. Use this strategy only when weather conditions are favorable. Additionally, during the final stages of drying, letting in a controlled amount of fresh air can help restore a natural balance to the indoor environment without compromising the drying work already done.
Removing Wet Materials That Cannot Be Salvaged
In cases where materials such as drywall, carpeting, or insulation are severely damp, removal may be necessary. These wet materials can continue releasing moisture over time, undermining the dehumidification process. Removing and replacing them not only speeds up the overall drying but also reduces the risk of mold development. Disposal of such items should be done safely, following local health and environmental guidelines.
Checking Hidden Areas for Trapped Moisture
Finally, do not overlook hidden areas such as behind walls, under floorboards, or inside ventilation ducts. Using moisture meters or infrared thermometers can help identify pockets of trapped moisture. Addressing these areas might require additional localized drying methods. These hidden reservoirs, if left untreated, may lead to chronic mold issues or structural deterioration over time.
Key Takeaways: – Air movers can target stagnant zones, speeding up evaporation. – Controlled heating increases evaporation rates but must be monitored. – Opening windows is useful when external humidity is low. – Removing irreparable materials prevents ongoing moisture release. – Hidden areas require thorough checks using moisture detection tools.
Monitoring Drying Progress and Dehumidifier Usage Tips for Completion
Monitoring the drying process is essential to ensure that no moisture is left behind and that the dehumidifier is operating effectively. Regular inspections, the use of specific tools, and adjustments based on observed conditions will guide the entire process toward a successful outcome. A failure to monitor may result in partial drying, which presents a risk of mold recurrence and structural issues in the future.
Regularly Check Water Collection Tank Levels
During continuous operation, the dehumidifier collects water in its tank or directs it via a drainage hose. Regularly inspecting the water collection tank prevents overflow, which could cause additional water damage or necessitate an interruption in the process. Recording the water volume extracted over time provides a quantifiable measure of drying progress. For instance, if a dehumidifier collects several liters of water within a short period, it indicates a high level of remaining moisture in the environment.
Use a Moisture Meter to Track Material Dryness
A moisture meter is an indispensable tool for tracking the drying progress. By taking regular readings from walls, floors, and furniture, it is possible to determine whether the affected materials have reached a safe moisture level. Peer-reviewed studies indicate that maintaining a moisture content below 15% in building materials significantly reduces the potential for mold growth. Documenting moisture levels periodically informs decisions on when to reduce the duration of dehumidifier operation.
Observe for Signs of Complete Drying in Affected Areas
Beyond using tools, a visual inspection for signs of drying is crucial. Look for peeling paint, damp spots, and condensation on surfaces as indicators that drying is incomplete. Wet odors or a musty smell are also common signs that residual moisture remains. Only when physical and sensory evidence suggests dryness should the drying process be considered complete. This observation ensures that nothing has been overlooked.
Determine How Long to Run the Dehumidifier After a Leak
The duration of dehumidifier operation after a water leak varies with the extent of the intrusion and the materials involved. Experts generally recommend running the device continuously for at least 48 to 72 hours; however, severe cases may require several days of operation. The ongoing measurement of moisture levels using a meter, combined with regular visual inspections, will determine the appropriate duration for the device to run. Adapting to real-time conditions is key to an effective drying regime.
Gradually Reduce Dehumidifier Use as Conditions Improve
Once the majority of the moisture has been removed and moisture readings consistently indicate dry conditions, the dehumidifier usage can be scaled back gradually. Reducing operation prevents over-drying, which can sometimes damage wood or other sensitive materials. A controlled reduction in operation also saves energy while maintaining enough drying action to handle any lingering issues. This phased approach results in a balanced indoor environment that supports both structural integrity and occupant comfort.
Key Takeaways: – Monitor water tank levels to avoid overflows. – Use moisture meters for accurate tracking of material dryness. – Visual cues and odor checks are essential for assessing drying completion. – Run the dehumidifier for an adequate period based on damage severity. – Gradually decrease operation to maintain balanced moisture levels without causing additional harm.
Post-Drying Care and Long-Term Moisture Control Strategies
Once the space has been successfully dried, post-drying care is critical to ensure that the environment remains safe and free from future water damage. Long-term moisture control involves a combination of maintenance practices, inspection routines, and, when necessary, professional remediation to address lingering issues such as odor or mold growth. These steps not only maintain the quality of the indoor environment but also extend the longevity of building materials.
Cleaning and Storing Your Dehumidifier After Use
After the drying process is complete, it is crucial to properly clean and store the dehumidifier. Unplug the unit before cleaning to prevent any electrical hazards. Remove water residue from the tank, and clean the filters thoroughly with warm, soapy water or as advised in the manufacturer’s guidelines. Proper storage in a dry, dust-free environment ensures that the dehumidifier remains in good working condition for future emergencies. A well-maintained dehumidifier will perform more efficiently and last longer.
Inspect for and Address Any Lingering Odors or Mold Growth
Post-drying, a thorough inspection should be performed to check for persistent odors or signs of mold growth. Lingering musty smells or visible discoloration indicate that some moisture might remain hidden in wall cavities or under floors. Using specialized cleaning agents or professional mold remediation services can address these issues promptly. It is essential to act quickly because prolonged exposure to mold can cause respiratory problems and further damage building materials.
Implement Preventative Measures Against Future Water Leaks
Long-term moisture control also involves preventative maintenance. Regular inspection of roofs, plumbing systems, seals around windows, and foundation drainage can prevent future water leaks. Upgrading old or faulty materials and installing water sensors can provide early warnings before small issues become catastrophic. Homeowners might also consider professional evaluations on a regular basis to ensure that their property remains in optimal condition.
Continued Dehumidifier Usage Tips for Maintaining Healthy Humidity
Even after the immediate water damage is remedied, maintaining a controlled indoor humidity level is vital. Seasonal use of a dehumidifier, especially in regions with high ambient humidity or during storms, helps maintain air quality and protect the home from mold. Regular calibration of devices using a moisture meter ensures that the settings remain effective, promoting long-term indoor comfort and preventing further water-related damage.
Recognize When Professional Restoration Services Are Needed
Not all water damage can be managed with DIY methods. When structural damage is evident or persistent mold growth is detected, professional restoration services should be sought immediately. Experts offer advanced diagnostic tools and specialized remediation techniques that can thoroughly resolve the issues. This step is crucial for ensuring the health and safety of inhabitants as well as preserving the integrity of the property.
Key Takeaways: – Clean and store the dehumidifier properly to ensure future functionality. – Inspect for lingering odors or mold and address them immediately. – Implement routine maintenance and preventive measures to avoid future leaks. – Periodic dehumidifier use helps maintain optimal indoor humidity. – Seek professional services when structural issues or extensive mold is present.
Frequently Asked Questions
Q: How do I know if my home is completely dry after a leak? A: Use a moisture meter on walls, floors, and other materials to confirm dryness below 15% moisture content. Conduct a visual and odor inspection—absence of damp spots and musty smells indicates that the area is properly dried.
Q: Can I run a dehumidifier continuously for several days? A: Yes, running a dehumidifier continuously is recommended in severe water damage cases, particularly if the unit has a continuous drainage option. Always ensure proper monitoring to prevent over-drying and energy wastage.
Q: When should I call a professional for water damage restoration? A: If you notice persistent mold odors, structural damage, or if moisture remains undetected in hidden areas despite dehumidification, it is time to call professional restoration services who utilize advanced diagnostic tools and remediation techniques.
Q: How can I prevent future water leaks? A: Regular maintenance such as inspecting roofs, plumbing, seals, and drainage systems can help prevent leaks. Installing water sensors and scheduling professional inspections are proactive measures to minimize future water damage.
Q: Are there any health risks associated with using a dehumidifier after a water leak? A: Generally, dehumidifiers reduce health risks by controlling mold and moisture. However, ensure proper cleaning and maintenance of the unit to prevent the circulation of dust and allergens, and always address electrical safety before use.
Final Thoughts
In conclusion, the effective use of a dehumidifier after a water leak is an essential step in mitigating water damage and preventing mold growth. By prioritizing safety measures, preparing both the space and the dehumidifier for efficient operation, and employing strategic running techniques, home restoration can be successfully achieved. Advanced techniques such as using air movers, controlled heating, and regular monitoring further enhance the drying process. Homeowners who follow these best practices will protect their properties and ensure a healthier living environment for years to come.


