How to Remove Baseboard Molding (Step-by-Step)
If you’re planning a home improvement project, like adding wood flooring, new carpet, or doing restoration after water damage or mold, you may need to remove your baseboard molding first.
Don’t worry—it’s not too hard! You just need the right tools, some time, and a little patience. Whether your baseboards are old or new, this guide will help you take them off without hurting your wall, floor, or drywall.
Let’s start!
Why People Remove Baseboard Molding
There are many reasons you might want to take off your baseboard:
- You want to put in hardwood or wood flooring
- You’re replacing old carpet
- You see signs of mold or damage from the roof or floor
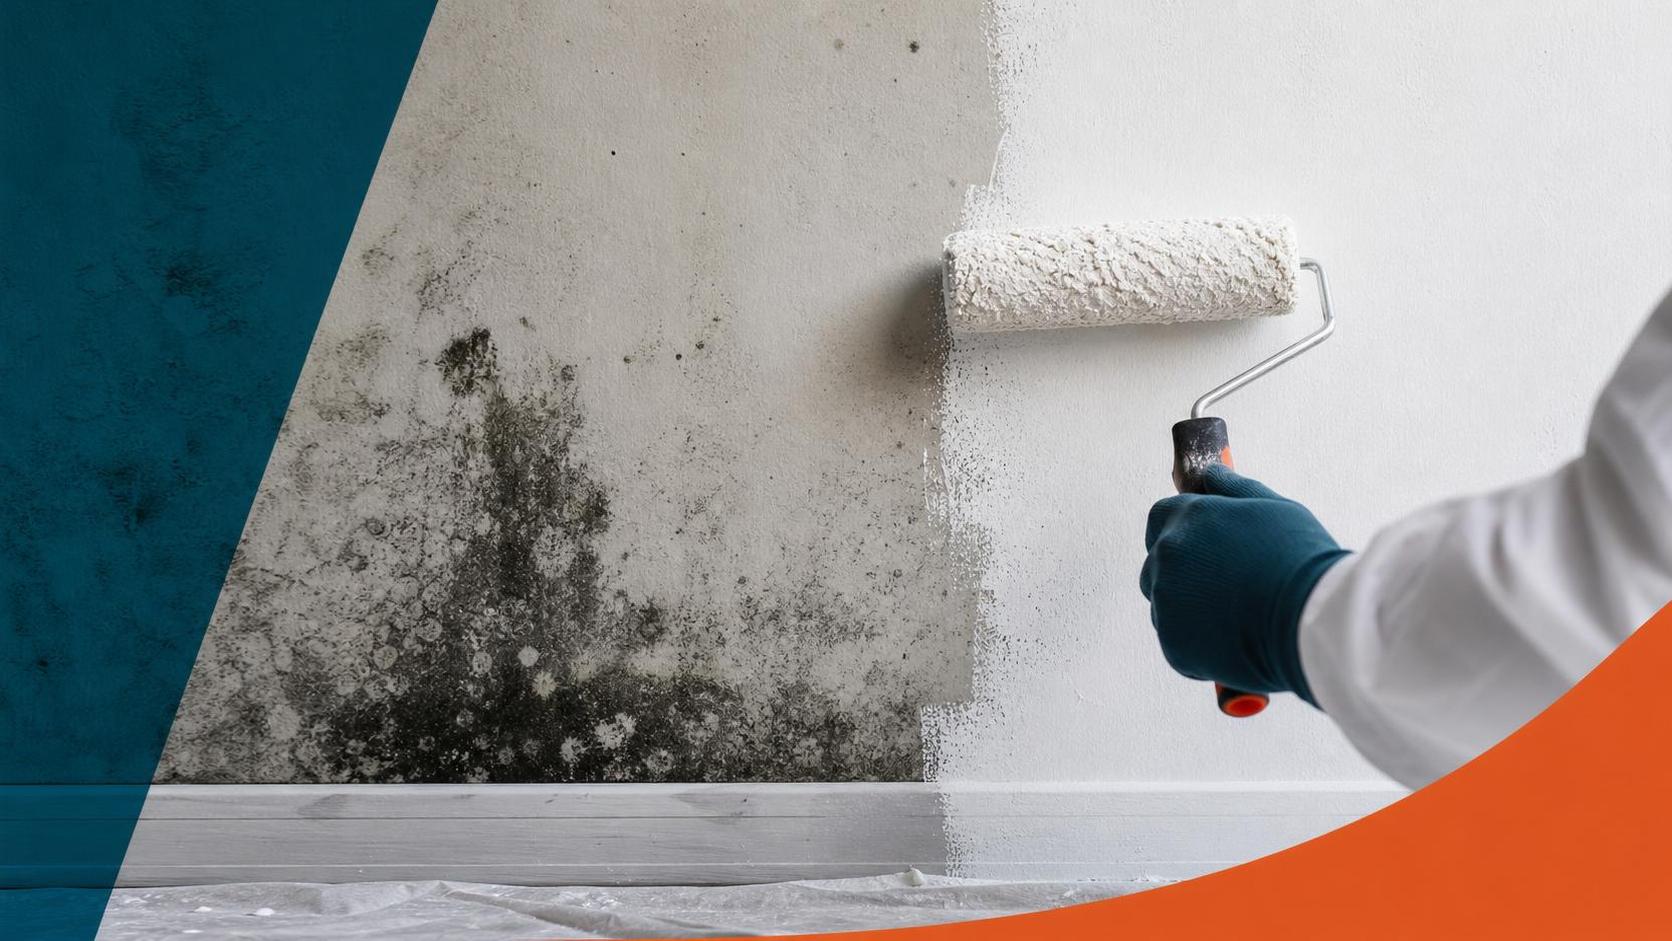
- You’re painting or changing the wall
- You’re doing a full home improvement or carpentry project
- There’s water damage from a broken pipe or rain
Removing the baseboards helps you do the job right. It also gives you a clean finish once you’re done.
What You Will Need (Tools Checklist)
Before you start, gather these tools:
- Putty knife
- Small hammer
- Pliers
- Utility knife
- Paint scraper (optional)
- Pry bar or molding remover
- Safety gloves
- Dust mask (especially if there’s mold)
Tip: Lay down a towel or cardboard to protect your wood floor or concrete from scratches.
Step 1: Cut the Caulk Line
Look where the baseboard meets the wall. There’s usually a thin line of caulk (a glue-like material) that keeps it sealed.
- Use your utility knife to slowly cut along the caulk.
- This stops the paint from tearing off the drywall when you pull the board off.
Step 2: Use a Putty Knife to Loosen the Baseboard
Take your putty knife and gently slide it between the baseboard and the wall. Wiggle it a little to loosen the board.
- You may hear a small crack—that’s okay.
- Move the knife down the wall, a few inches at a time.
- Keep working until the whole board is a little loose.
Step 3: Pry with a Hammer and Tool
Once it’s loose, use a small hammer to tap in your putty knife or pry bar more deeply.
- Gently pull the baseboard away from the wall.
- Do not yank—it can tear the drywall.
- Work slowly across the full length of the board.
Tip: Some people use a special carpentry tool called a molding remover. These are made just for this job!
Step 4: Pull Out Nails with Pliers
Once the baseboard is off, look at the back. You’ll probably see nails sticking out.
- Use pliers to pull them out carefully.
- If nails are stuck in the wall, pull those out too.
Try not to damage the wood or drywall. If you do, no worries—we’ll show you how to fix it later.
Step 5: Clean Up Leftover Caulk and Paint
After removing the boards:
- Use a scraper or putty knife to remove leftover caulk or paint from the wall.
- You can also sand it down gently.
This makes the wall nice and smooth for when you reinstall the baseboard, add flooring, or do more home improvement work.
Step 6: Fix Any Holes with Putty
Did you pull off some drywall or make tiny holes?
No problem. You can use putty to fix it.
- Put a little putty on your knife.
- Spread it over the holes or cracks.
- Let it dry and then sand it smooth.
Now your wall is ready for a new look!
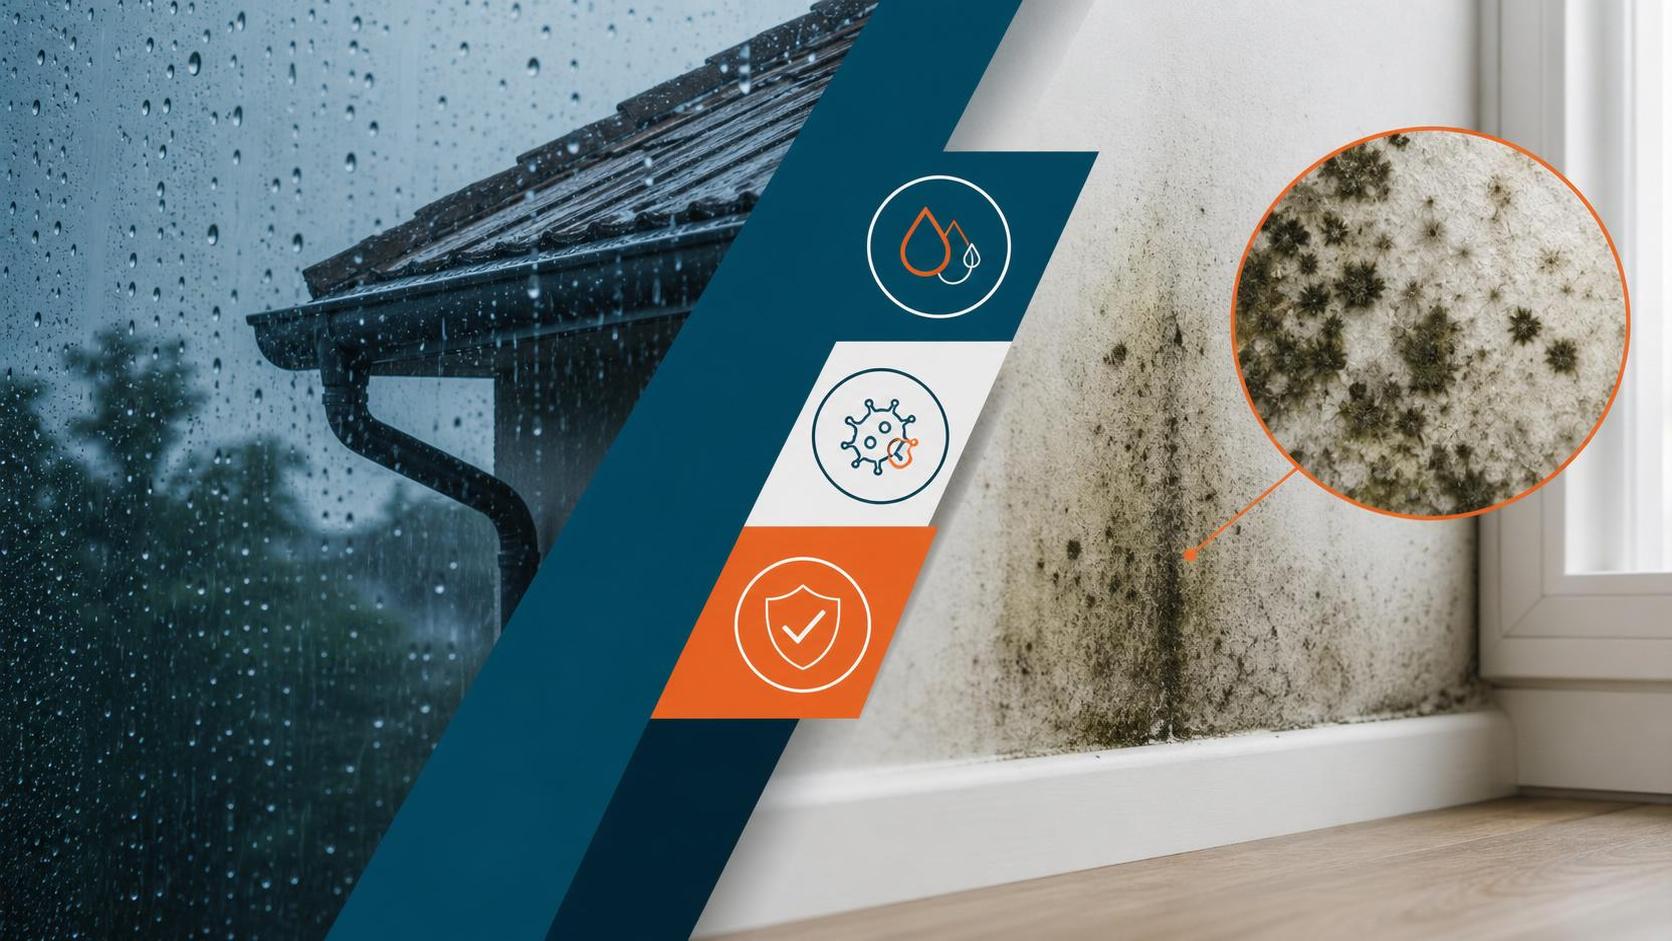
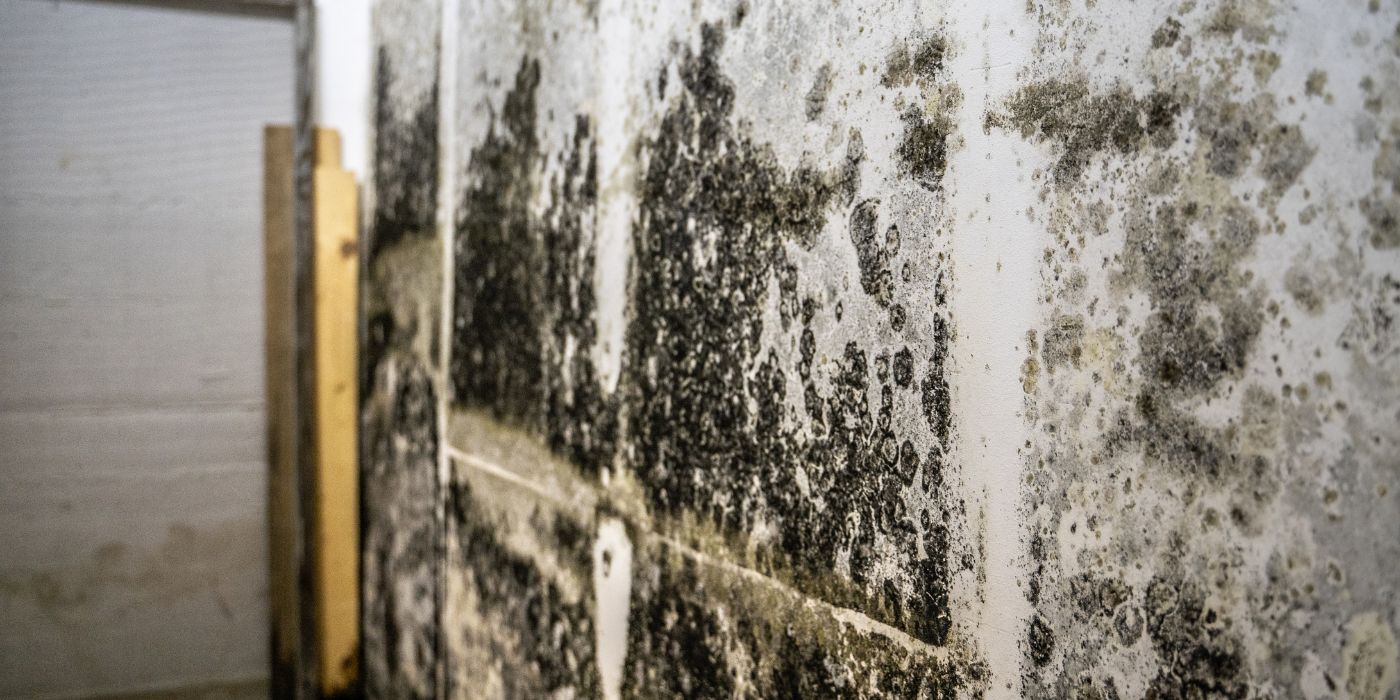
What About Mold or Water Damage?
If you’re removing baseboards because of mold or a leak from the roof, check your walls and floor.
- Look for black spots or a musty smell.
- Check behind the baseboard and on the drywall or concrete.
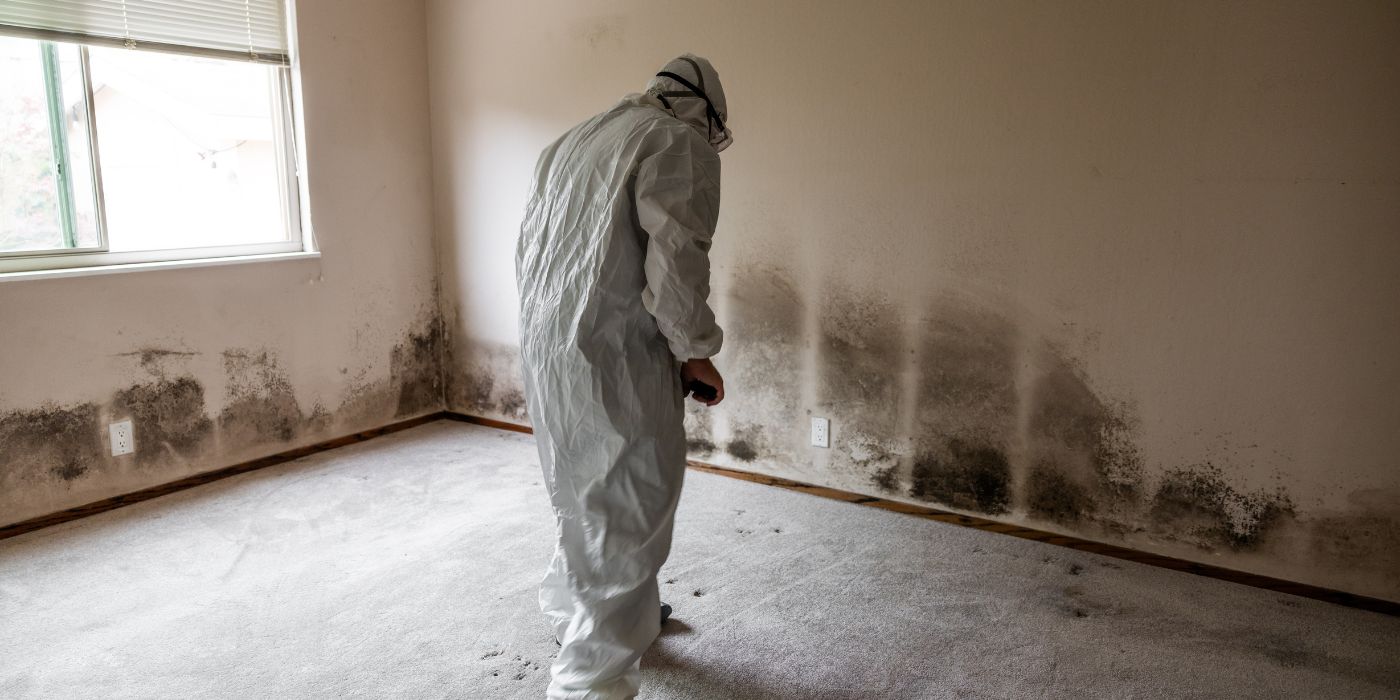
If you find mold, you may need to call a restoration professional. Mold can be harmful if not handled right.
Baseboard Removal Tips for Wood or Carpet Floors
If You Have Wood Flooring:
- Be extra careful not to scratch your hardwood with tools.
- Use a towel under your putty knife to protect the floor.
If You Have Carpet:
- Pull the carpet back a little before you start.
- Make sure not to cut or tear it with your knife.
Whether you have wood, carpet, or concrete, go slow and steady for best results.
Can I Reuse My Old Baseboards?
Yes! If the wood is still in good shape, you can reuse it.
- Remove it gently without cracking or splitting.
- Sand off any old paint or caulk.
- Store it flat until you’re ready to put it back on.
This saves money and matches your old carpentry style.
Safety First!
When working on home improvement projects like this:
- Wear gloves to avoid splinters
- Use a mask if there’s dust or mold
- Keep kids and pets away from the work area
- Don’t rush—take your time and be safe
When to Call a Pro Like Preferred Restorations
You can do a lot on your own, but sometimes it’s better to ask for help:
- If your walls are made of delicate drywall
- If there’s a lot of mold
- If the baseboard is stuck with strong caulk
- If you’re doing a big restoration job or adding new flooring
Contractors, carpenters, or restoration experts have special tools and know how to avoid damage.
FAQs About Removing Baseboard Molding
How do I remove baseboards without damaging the wall?
Use a utility knife to cut the caulk, then a putty knife and small hammer to gently pry the baseboard away from the wall. Work slowly and use pliers to remove nails.
Can I reuse my baseboards after removing them?
Yes! If the wood is still in good shape, remove the baseboard carefully. Clean off old paint and caulk, and store flat until ready to reinstall.
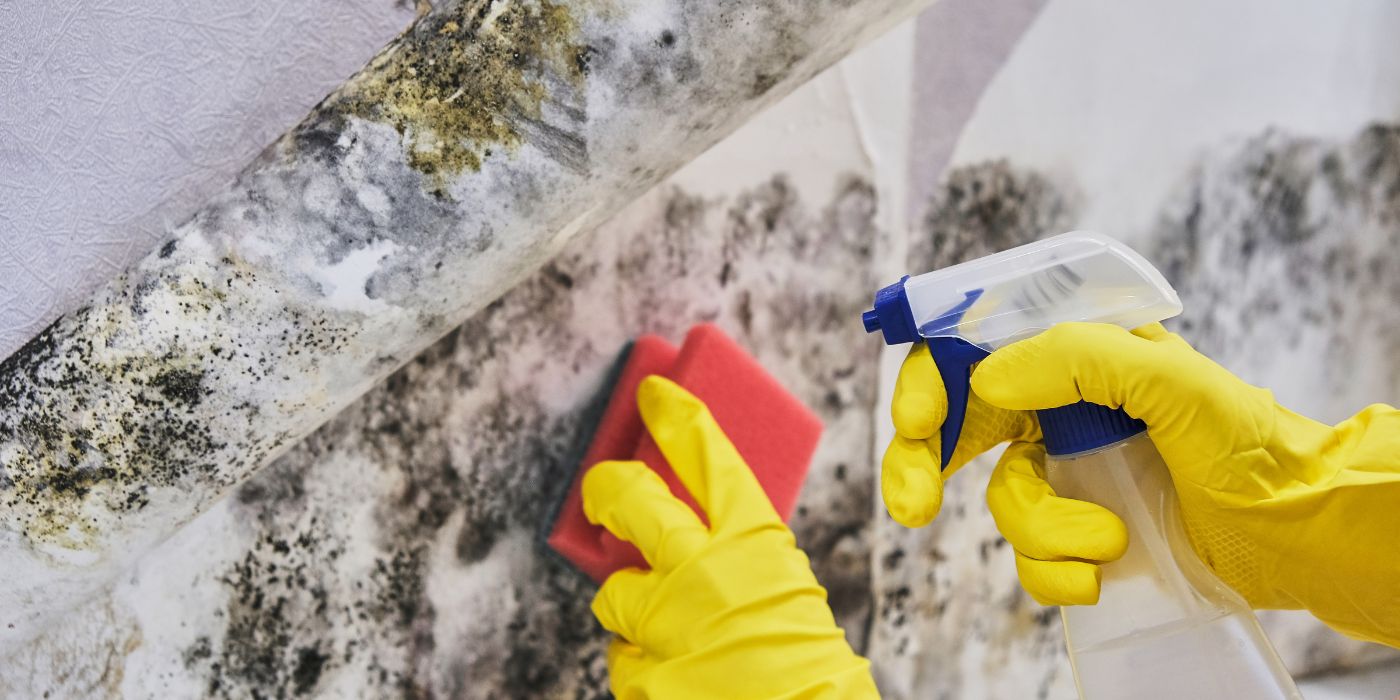
What if I find mold behind the baseboard?
If you find mold on the wall, floor, or drywall, wear a mask and gloves. Clean small spots with cleaner, but call a restoration expert for large areas.
What tools do I need to remove baseboards?
You’ll need a putty knife, hammer, pliers, utility knife, and possibly a pry bar. These help loosen the baseboard and remove nails safely.
Can I remove baseboards on concrete walls?
Yes! The steps are the same. Use a putty knife and hammer to remove the board and be careful not to damage the concrete surface behind.
Removing baseboard molding is a great DIY task for many types of home improvement—whether you’re fixing mold, replacing flooring, or updating the paint. By using the right tools and working carefully, you can get the job done without hurting your wall, floor, or drywall.
Contact us today for a FREE quote or visit Mold Removal for more information.